Below are a few pictures from progress on Nina's wing board.
Profile shaped, outline marked:

Table wire cutter setup:

Rough outline cut:

After cutting the outline with the table wire cutter, a few gaps became visible where the original foam blocks had indentations:

I filled the gaps with PU foam, which seemed to worked nicely.
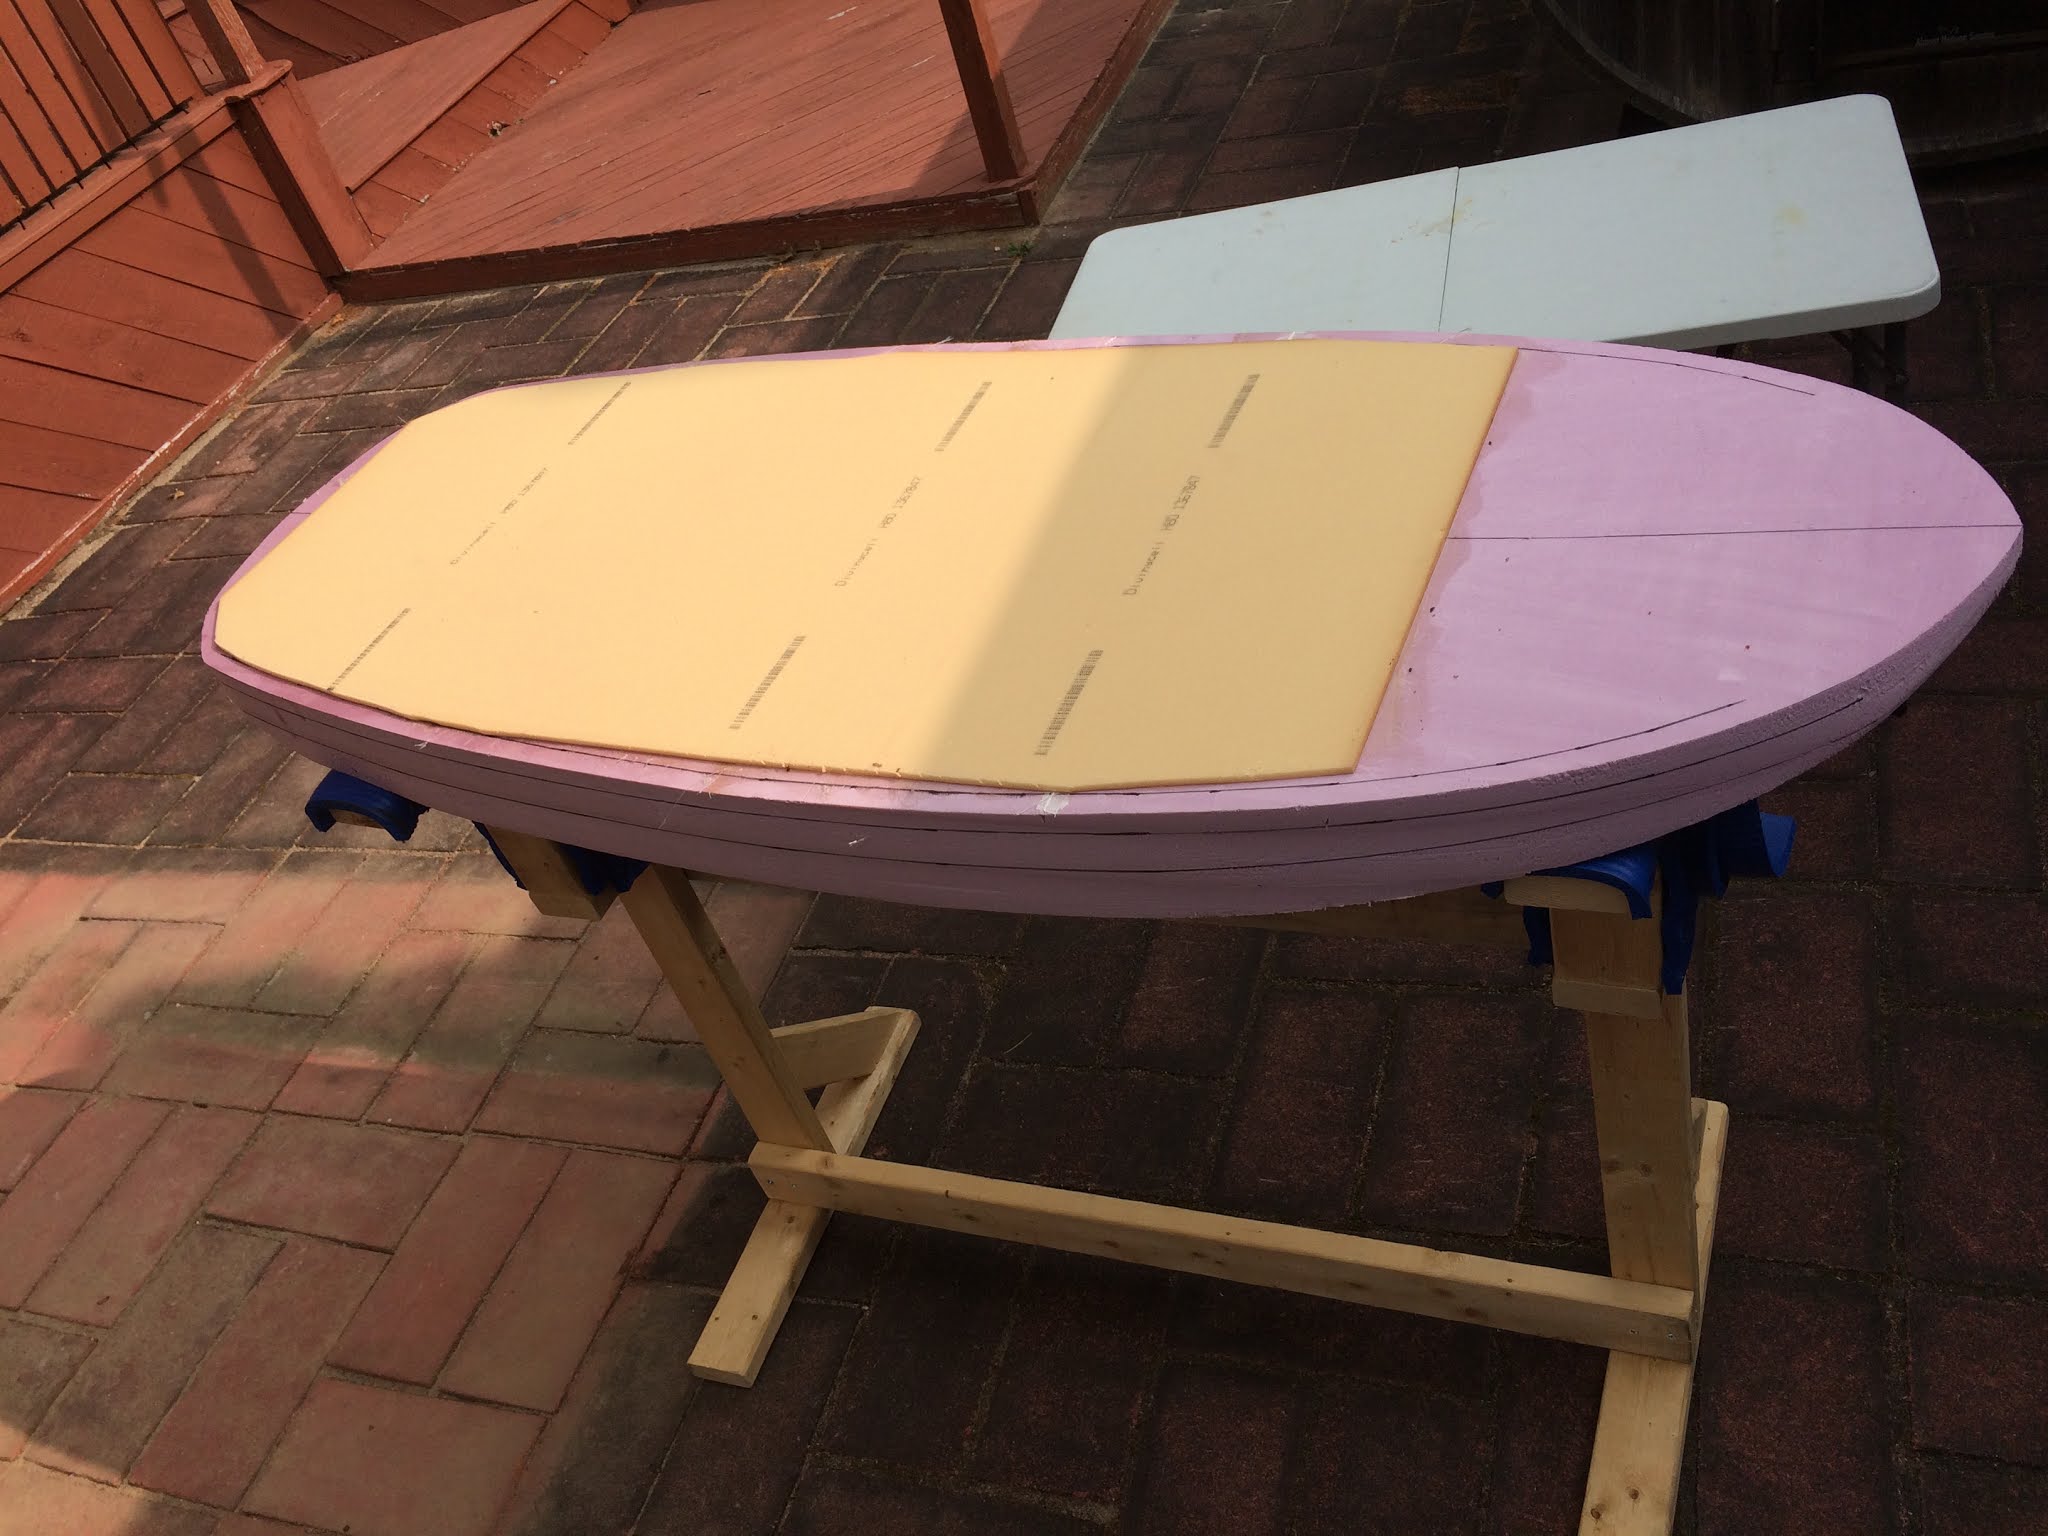
After the fine trim of the outline with hand tools, I marked the rail lines, and then added a layer of 6 oz glass and 1/4 inch divinycell to the top. Since this is a wing board, a full sandwich construction which is typical for windsurf boards seemed like overkill. The board will not constantly slam into waves, so reenforcing the bottom does not seem necessary. However, a typical surf board construction, which uses just a couple of layers of fiber glass on top, would probably not have lasted long. Surfers stand on their boards only a few minutes each session, while Nina usually stands on her wing boards for at least a couple of hours per session. Add full-body pumps to get going to that, and the top would quickly delaminate. Therefore, I added a sandwich only to the top. The thickness of the hard PVC foam is twice of what's usually used in windsurf boards; thicker sandwiches are stronger. Instead of using vacuum, I just used a bunch of boards and weights to glue the sandwich foam on:

The weights seemed to work well enough: